Hei and a happy coming new year!๐ค
I got my nails ready for new year already! I got this amazing nail art set along with these nail art stickers from Santa๐ and had to open it right away ofcourse.
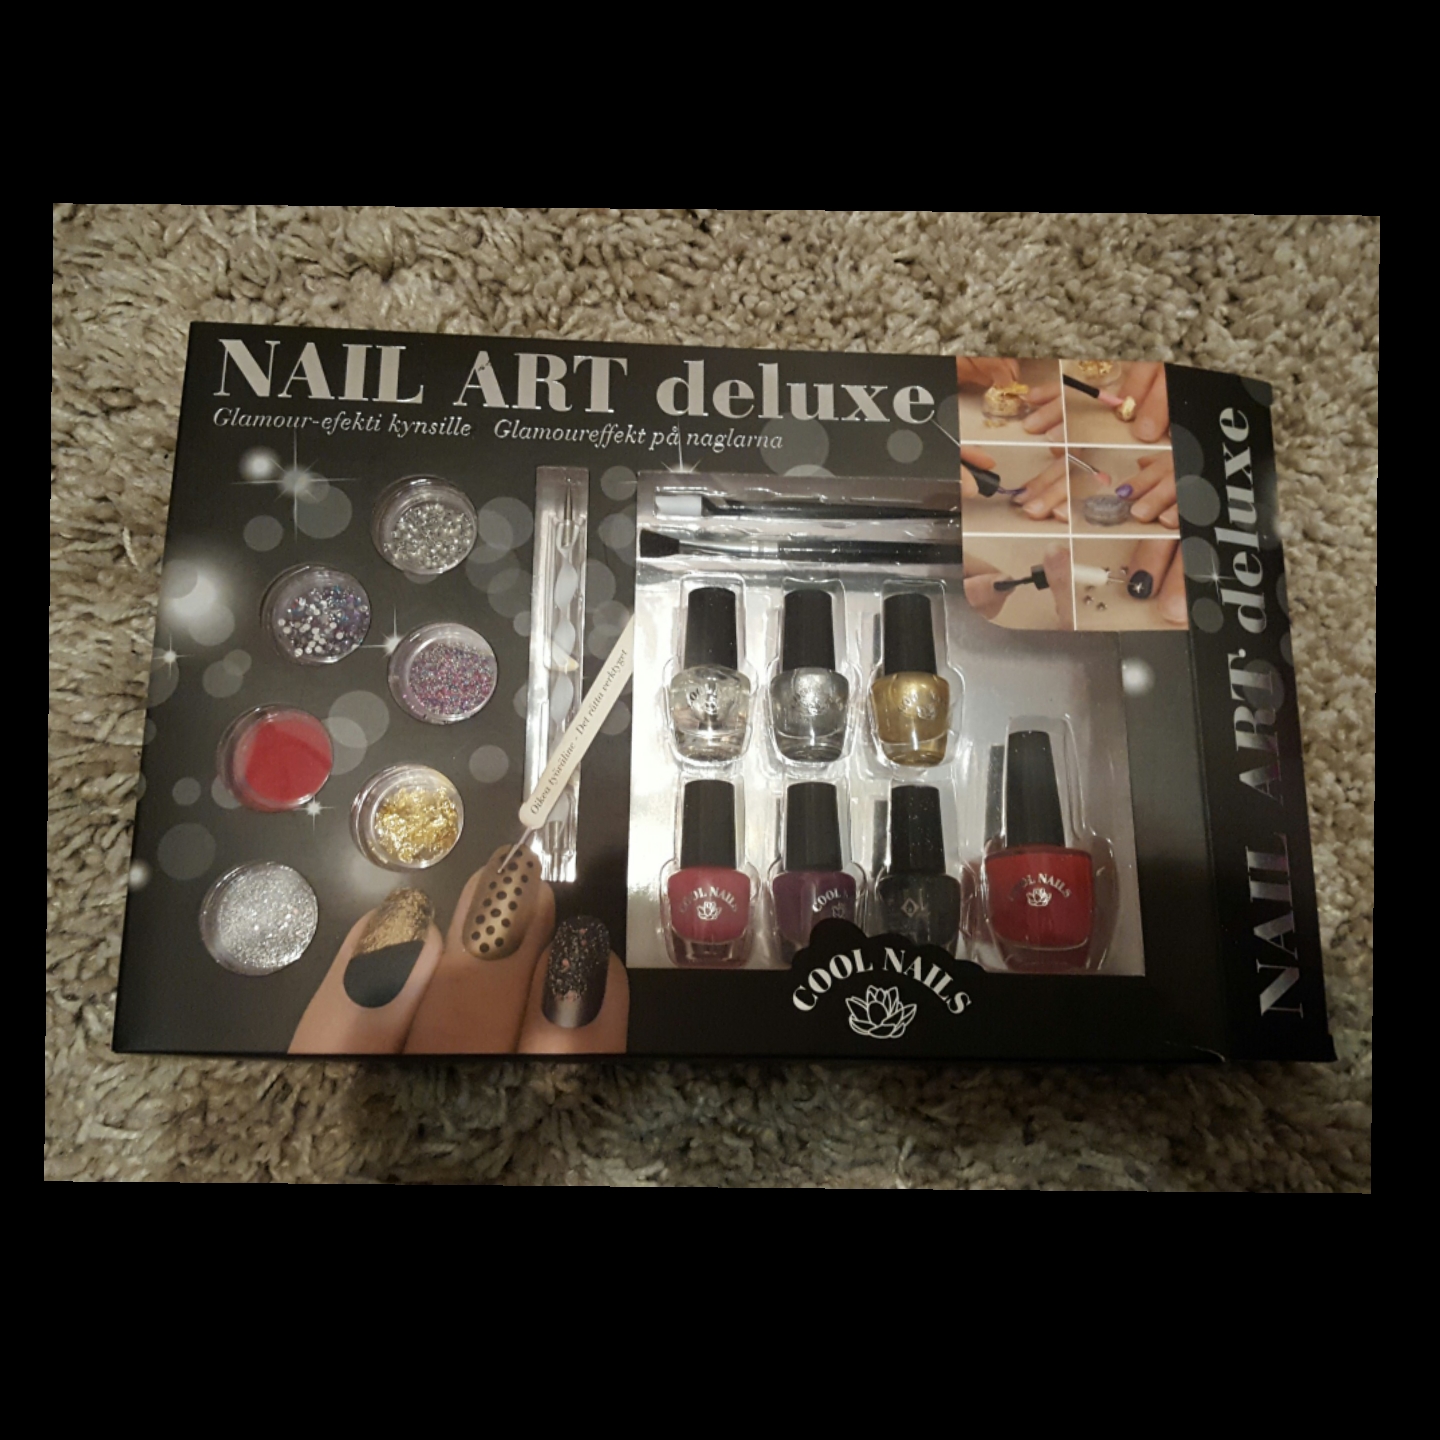
I used the black nailpolish and added a silver sticker/decoration onto my thumbnails and middle fingers' nails. The rest of the nails I decorated with the sparkly silver glitter by brushing some onto the tips with the little brush. ๐
(the see-through nailpolish as the glue)
The glitter and decorations now stand out because of the black nailpolish, kinda like fireworks stand out in the night sky❣ ๐๐
*I also already picked out my new years perfume, Police ๐
Friday, December 29, 2017
Sunday, December 24, 2017
Christmas nails๐๐
Merry Christmas!๐
๐❄๐๐
This week I made Christmas nails for myself by just using the polishes I have and drawing a christmas tree and mistletoe.
I used a funny tool for the drawing but atleast it worked, I used a plastic toothpick!๐ The toothpick was thin enough to fit in the nailpolish bottles and it was easy to draw with. (Picture below)
Drawing onto the nails was easy when drawing with my right hand but then when it was my right hands turn to be drawn on, it took a while to get a good grip. But the nailart turnout well and I got to say I was positively surprised.
Dont be afraid to try something new. ๐ There is no need to think that you always need to have fancy nailart tools sold in shops, sometimes you can find the right tools from home.
I also used star nailart decorations on my trees and then on some of the blanc white nails I added some sparkle. ๐
Monday, December 11, 2017
I ❤shine, Depend nailpolish
Hei,
This time I wanted to post about Depend nailpolish as yesterday I found a sparkly color I really like.
The Depend bottles are cute and small but the quality is really good(don't let the size fool you). In my opinion Depend nailpolish doesn't dry up or get thick quickly like some nailpolishes. The brush is a good size and it is easy to paint your nails quickly without creating a mess.
The Depend nailpolishes I have in use at the moment are(all create a really bright color when 2 coats are applied):
The sparkling silver looks beautiful and glamorous, especially when you add the two coats! ๐
I need to buy more of these sparkling ones....I already have my eye on some which I want to buy (there are different colored sparky nailpolishes) ๐
This time I wanted to post about Depend nailpolish as yesterday I found a sparkly color I really like.
The Depend bottles are cute and small but the quality is really good(don't let the size fool you). In my opinion Depend nailpolish doesn't dry up or get thick quickly like some nailpolishes. The brush is a good size and it is easy to paint your nails quickly without creating a mess.
The Depend nailpolishes I have in use at the moment are(all create a really bright color when 2 coats are applied):
The sparkling silver looks beautiful and glamorous, especially when you add the two coats! ๐
Another new Depend nailpolish of mine is this one below. (Depend 02) ๐ Beautiful. Shiny. Winter color.
Wednesday, December 6, 2017
Finland 100 years nails
Hyvรครค 100v Itsenรคisyyspรคivรครค Suomi!!!
Happy 100 yr Independence day Finland!!
Today's an important day for all Finns and that's why my nails are blue and white like our flag! ๐๐ซ๐ฎ
(In the picture also a beautiful Finland 100 years medal from Suomen Moneta!
Process: Used a sponge yet again to get a nice divide of blue and white. Had to add a lot of nailpolish onto the sponge and press the sponge over the nails several times to get a deep and nice color.
+ I did my nails again late in the evening so this time I used this thick tape to cover atleast most of the skin around the nails.
Happy 100 yr Independence day Finland!!
Today's an important day for all Finns and that's why my nails are blue and white like our flag! ๐๐ซ๐ฎ
Process: Used a sponge yet again to get a nice divide of blue and white. Had to add a lot of nailpolish onto the sponge and press the sponge over the nails several times to get a deep and nice color.
+ I did my nails again late in the evening so this time I used this thick tape to cover atleast most of the skin around the nails.
Thursday, November 30, 2017
Gems-nailart ๐
Hei!
I've been really obsessed with the new nail art glitters I ordered as I love the shine they bring!๐
I've been trying different colors with different glitters. (My earlier attempts below)
I said attempts because I thought they looked cool but not as good as they could and not as awesome as what I accomplished now!! I used 3 different colored glitters with black nail polish and now they look really cool!! ๐ the glitters properly stand out and almost look like gems!
You gotta test and test till you find out what work๐
Tuesday, November 14, 2017
Sparkling glamor nails๐
Hei!
This week I used some nailart sparkles with a really nice green nailpolish and got really sparkly "glamor nails" as I like to call it! ๐
Heres the color with inside lighting!
I painted my nails(with the nailpolish in the picture below) and then added some see-through nailpolish (to act as a glue for the sparkles) and then I added two different shades of sparkles. I then ofcourse added a top coat of see-through nailpolish to protect the sparkles.
Now they shine bright like a diamond๐ and in my opinion look glamorous!
Wednesday, November 1, 2017
Halloween nails
Hei!
It was Halloween yesterday and so I decided to make nice Halloween nails couple days before. I had these really cool Halloween nail stickers but as they were much longer than my nails I decided to just cut out the pumpkins and ghosts/skeletons.
I first used an orange nailpolish as I think orange is the color of Halloween and then I added the cut up stickers as decorations. (+ lastly see through nailpolish to protect the stickers)
Then there you have it, fun and simple Halloween nails! ๐๐
Subscribe to:
Posts (Atom)


